Hi everyone! I know its been a while but I'm ready to get back into the swing of things! Okay, so this project is a little bit more art-focused. It isn't hard to do though, and its really fun. So, first here are the things you will need.

First, you will need to get your wax. I suggest ordering it from
this site, and order the damar medium. This wax will already be mixed for you and it will make things easier. You will need a flat heating surface, like this or even the hot surface you set a coffee pot on (although it will take longer). Next you will need brushes like the one displayed. You will need one brush for every color you decide to do, and a brush for your clear wax. You'll also need a sauce pan to heat the big chunk of wax, a ladle, and silicone or metal cupcake holders. First, you'll want to melt all of your wax in the big pan, this will be your clear wax. Next, you will ladle some wax into the cupcake holders. To make your colors add oil paint, use no more than the size of a pea. mix it in and your wax will be ready to use! Next you will want to get a heat gun or torch (you may also be able to use a hair dryer depending on how hot it gets). You'll also need a canvas or a surface to do your artwork on and an image printed from your computer on computer paper. Also, make sure to look at the bottom of the blog for
SOME HELPFUL TIPS that you may need throughout the project.
Step one:
Take your surface you are doing your artwork on and paint a thin and even coat of clear wax on it.
Step Two:
Take your torch/heat gun and fuse it. Basically you want to melt the wax so it attaches to the wood. When its done being fused, it should look like the photo below.
Step Three:
Take the image you have chosen and dip the whole thing in the melted clear wax.
Step Four:
Next, put it on top of the surface you have already painted with clear wax, and paint over the image with clear wax. Again try and make it a thin, even, layer.
Step Five:
Fuse it! When its finished, it should look like the photo below.
Step Six:
Add a color! In my case, I chose red and painted over areas I wanted to show as especially red. When its done being painted it will look a little raw and like the image below.
Then, you fuse it! WAIT until it dries completely before moving to the next step.
Step Seven:
Add your next color. I added black to the parts where I wanted it to appear darker. When its done, again it will look a little raw, and like the photo below.
Next, you fuse it and wait for it to dry before moving on.
Step Eight:
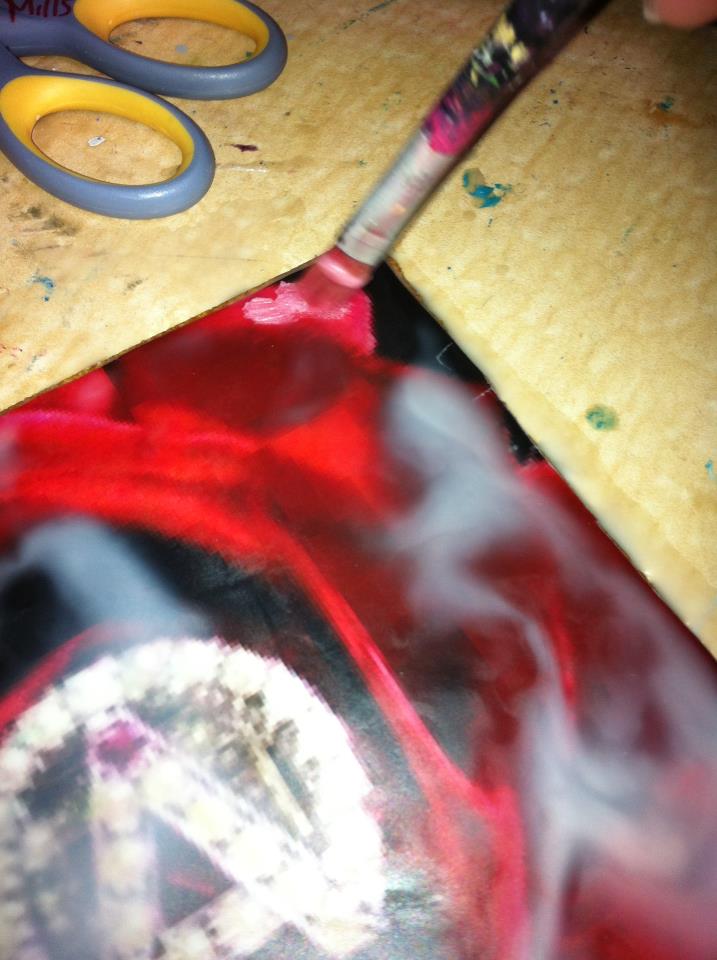
Add another color, in my case I decided to outline the badge in white, so when I fuse it, it will look a little ghostly and it may hold some of its shape. Next, you fuse it.
At this point I felt that the wax was building up, which is okay. i just wanted the white spread out. I also chased some wax off the piece. It ended up looking like the picture below.
At this point you could stop and have a finished product. I wanted to continue with the collage, and if you do to follow to step nine!
Step Nine:
Take your new picture and dip it in the wax completely. As you can see, I decided to enlarge my last image and just cut out the badge.
Then you want to add it to your dry product, and paint over it with clear wax.
Then you fuse. When its finished, it should look like the image below. This will be your final product!
SOME HELPFUL TIPS:
When you decide that you want to add more of a certain color, you will return to your brush and find that it is hard. All you need to do is press it against your hot surface and slowing it will all melt and be like it was before!
If you want you can add a hanger to the back so that you can hang it on the wall.
Thank you all for reading again! I know this is a much more artsy thing than a crafty one, but it is easy and makes for a really nice decoration at the end of the day! I hope it worked well for you, happy crafting!