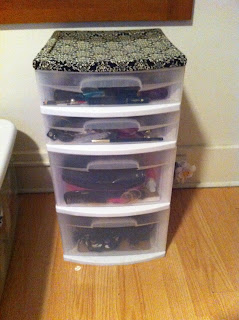
Hey everyone! So, the craft today is going to be about taking something you probably have and make it pop! I am using a set of plastic drawers that I keep makeup in along with other cosmetic things. I used to scribble all over the top of it with my eyeliner to soften it, and it ended up staining it. I thought about throwing it away, but then the crafty girl in me said there was a way to fix it and not be wasteful. SO, here it goes. Don't judge me by how foul the top of this table is.

Go from this. To this!
What you'll need:
The drawers or table, a fabric that you want to cover it, Mod Podge (please don't substitute with other adhesives), a brush to paint the Mod Podge with, and finally scissors.
Step One:
Take your fabric and cut it so that you have enough to cover the top (including creases!) and to wrap around the sides.
Step Two:
Iron your fabric! Even if your fabric doesn't look like there are any wrinkles on it, iron to make sure. When you wrap the fabric you want it to look smooth and like it was manufactured that way.
Step Three:
Take the Mod Podge and cover the whole lid with it. Make sure to put enough, it will dry clear! When its done it should look like this.
Step Four:
Smooth the fabric on the top of the lid. Make sure to pay attention so that there are no wrinkles and pay special attention to the creases if you have any.
Step Five:
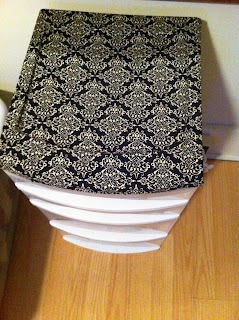
Put Mod Podge on the inside and out side of the sides. To get a clean look you'll definitely want to wrap the fabric to the other side. On the inside it should look like the picture below.
The Finished Product!!
I hope this worked out for you! Thanks for reading, happy crafting!


No comments:
Post a Comment